RaspberryPiにOSMCをインストールしてみました(その1)
Raspberry Pi Type Bにメディアに特化したOSMCをインストールしてみました。
OSMCをインストール
下記のサイトからOSMCのインストーラをダウンロードする
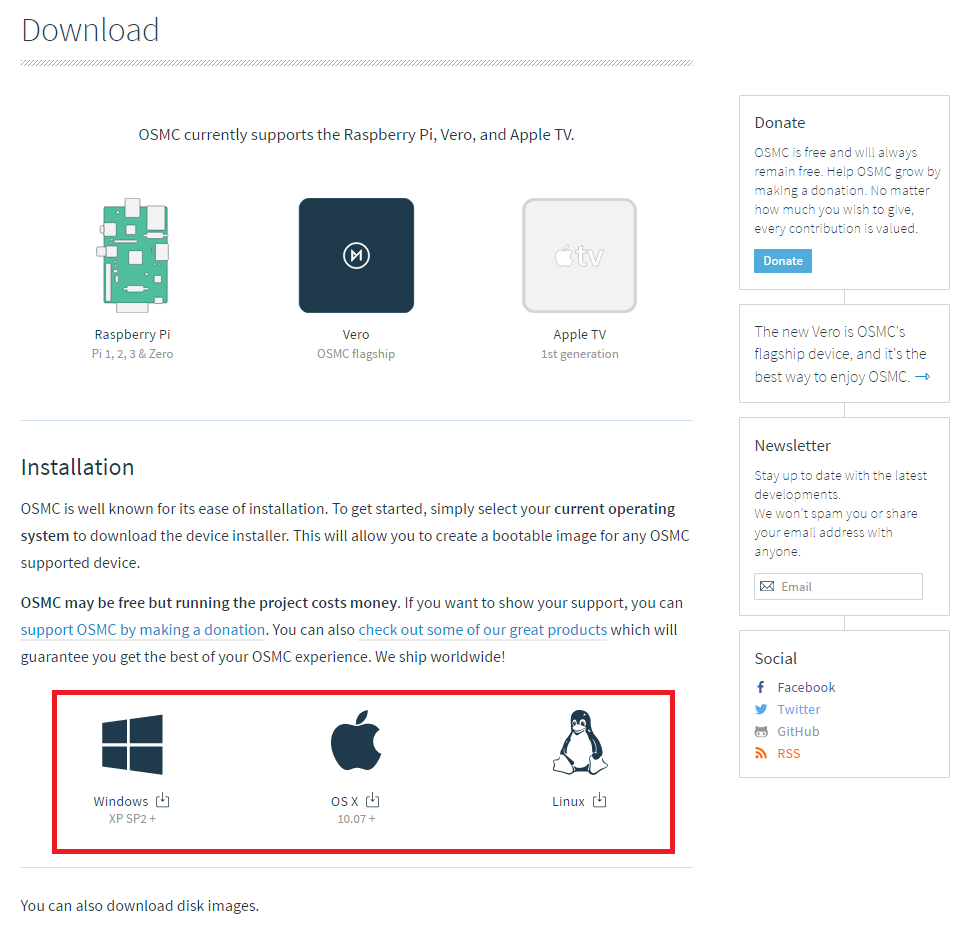
赤枠の中からWindows、OS X、Linuxを選びダウンロードします。
私のパソコンは、WindowsなのでWindowsをダウンロードします。
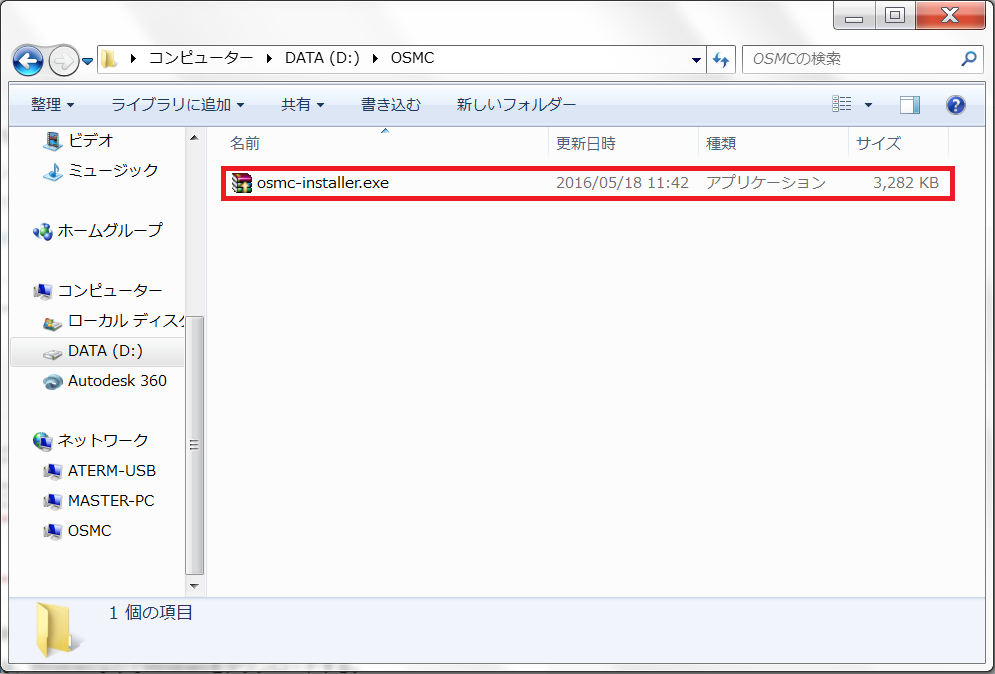
ダウンロードしたosmc-installer.exeを起動します。
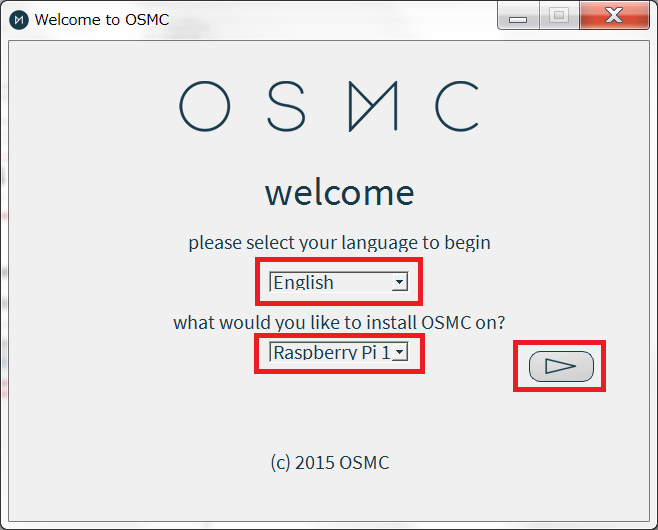
please select your language to begin は『Enblish』を選択します。
what would you like to install OSMC on? を使用する機器を選択し次ぎを押します。
私はRaspberry Pi Type Bを使用しているので『Raspberry Pi1...』を選択します。

please select what version you would like はインストールしたいバージョンを選択し次ぎを押します。
2016年5月18日現在の最新は2016.05-1です。
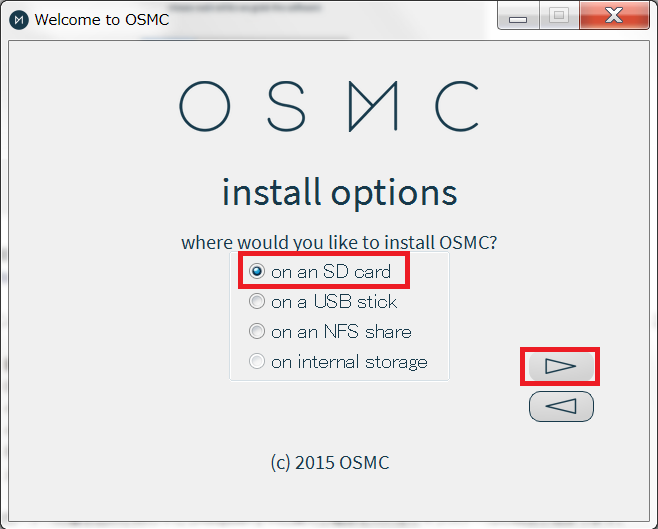
where would you like to install OSMC? は『on an SD card』を選択し次を押します。

configure how OSMC connects to the web は使用するネットワークの種類を選択し次を押します。私は有線を使用するので『wired connection』を選択します。
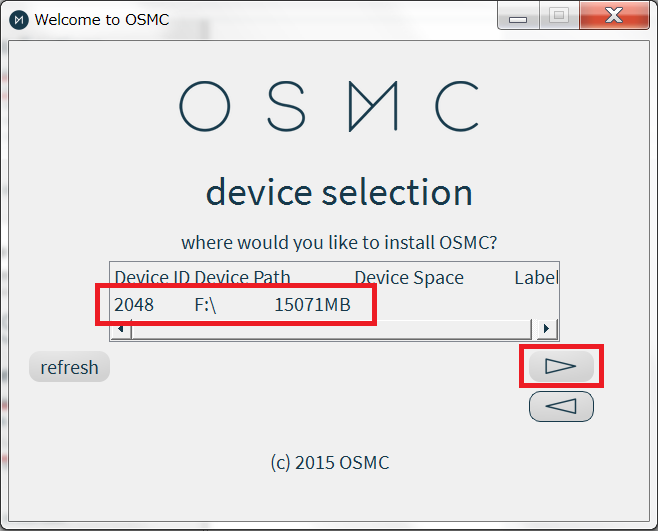
インストールしたいSDカードがパソコンに挿入している場合はリストに表示されます。私の場合は『F:\』にインストールしたいのでこれを選択して次を押します。
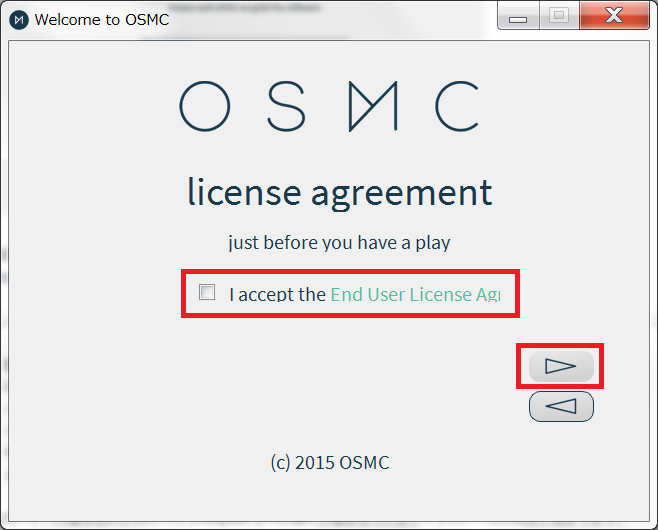
四角にチェックをして次を押します。
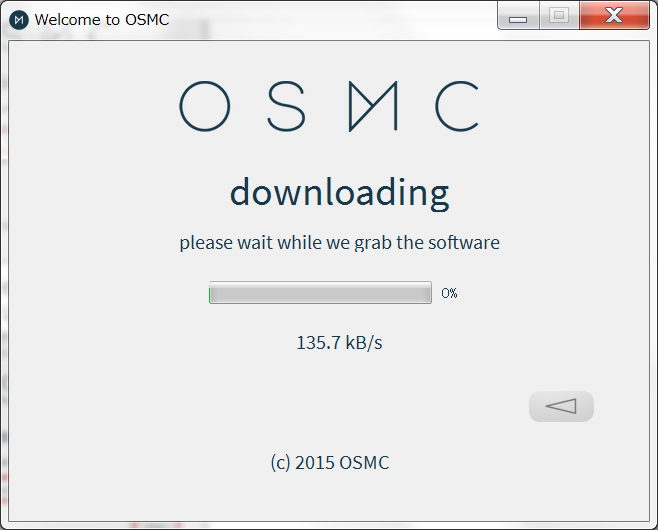
ダウンロードが始まるのでしばらく待ちます。
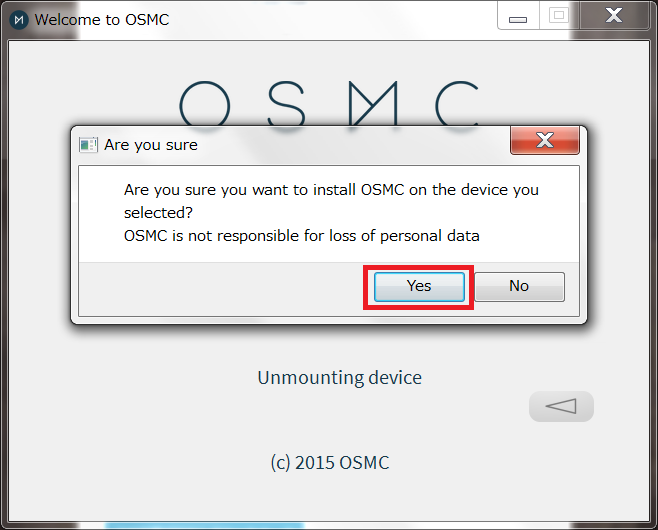
ダウンロード後に警告が表示します。『Yes』を押すとインストールが開始されます。

インストール中の画面です。
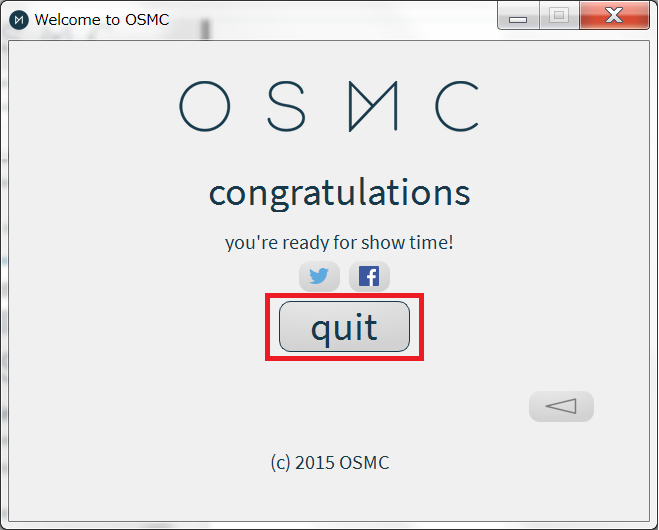
インストール完了です。『quit』を押して終了します。
作成したSDカードをRaspberry Piにセットし電源を入れるとインストールの続きが自動的に開始されます。
次回はインストールの続きと設定をしていきたいと思います。